Five simple motorcycle care tasks

Our motorcycles are our companions on the road, another form of love. If we take care of this motorcycle properly, it will support us for years to come. Generally, you don’t need extensive experience or special skills to maintain a bike. However, by spending a little time each day checking the condition of your bike, you can ensure your own safety.
The detailed and complex aspects of motorcycle maintenance can be discussed another day. For now, we will focus on five simple and quick steps that you can check every time before you head out. These 5 to 10 minutes of pre-checkup steps at the end of the day will save you time and avoid unexpected expenses.
Five Easy Tasks for Motorcycle Care
Step 1: Tires and Tire Pressure
The first thing you need to check is the tire. It's important to check for any cuts, punctures, or debris stuck to the tire before you hit the road. Failing to do so might result in a flat tire while on the road. Also, check how much the tire has worn. An easy tip for checking this is to place a 2 or 5 Taka coin with the image of Bangabandhu facing down and insert it into the tire tread. If you can clearly see 'Bangladesh,' it’s time to replace your motorcycle tire.
Another point to note is that if you often ride on smooth city roads without much cornering, the center of your tire will wear down faster than the sides. To get an accurate reading of how much wear there is on the tire, you should test the tire tread in the middle with the coin, not the side.
When it comes to motorcycle maintenance, tire pressure is often overlooked. However, tire pressure is crucial, especially when riding at high speed or making turns. Before getting on the bike, give the tire a hard kick to get an idea of the air pressure. For smaller tires, you can also press them with your hand to see if air is needed. It’s even easier if you take a few moments to check the pressure with a tire pressure gauge. As weather conditions change, the temperature fluctuates and tire pressure can vary as well, so be sure to check tire pressure more frequently during these times.
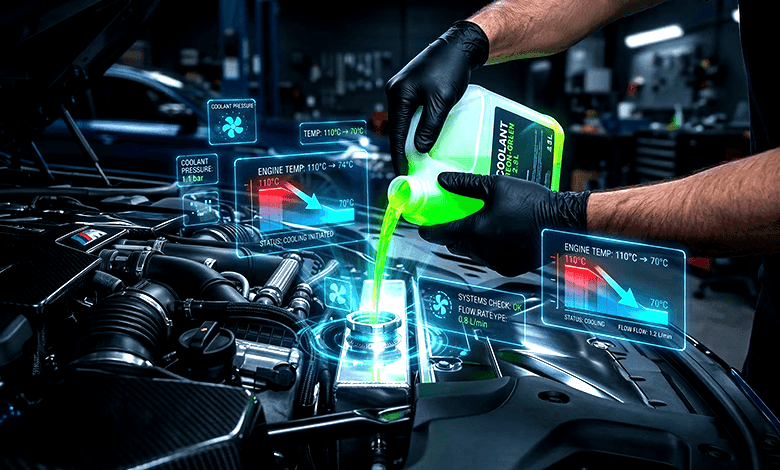
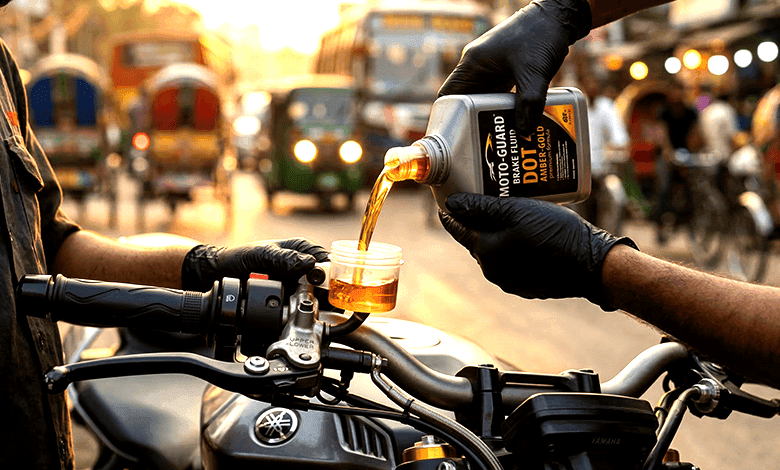
Step 2: Engine Oil and All Fluids
Next, you should check all the fluids in the bike. Many people compare motorcycle fluids, including engine oil, with car fluids, thinking they can last longer like in cars. But in motorcycles, the condition of these fluids can change significantly depending on the environment, the type of riding, and how you use the bike.
To check the engine oil level, different bikes have different systems. If there is a transparent part, take a quick look to see how much oil is in your bike. If your motorcycle has a dipstick, use it to check the oil level. Whatever method you use, make sure the bike is upright when checking the oil. You can use the stand to keep the bike upright, or get help to hold the bike straight before checking the oil.
You also need to check the brake fluid regularly. To do this, make sure the bike is on a flat surface and check if the fluid is at the correct level. You can observe the fluid level through a small transparent window on the brake master cylinder. If the fluid appears too dark or discolored, it needs to be replaced.
If your motorcycle has a radiator to maintain temperature balance, check the coolant fluid level as well.
Lastly, observe the ground around your bike for any fluid leaks, especially if the bike has been stationary for a long time. By being cautious, you can avoid major issues later on.
Step 3: Mechanical Parts
The next step is to check all the mechanical auto parts of your bike. Carefully inspect the brake pads to see how thick they are. Check the rotors for any cracks, and ensure everything is functioning properly. If your motorcycle has rear brake drums, it may not be easy to see directly. You can get a rough idea of the pressure by pressing the brake pedal.
While you're checking the underside, also inspect the chain or shaft drive. Quickly check for any dirt, dust, or debris stuck in the chain. Also, make sure the chain is well lubricated. Similarly, check the front and rear throttles to see if there’s enough free play.
Lastly, make sure to adjust and test the mirrors to ensure they are in proper working condition and can withstand the pressure.
Step 4: Safety Indicators
Before heading out, start your bike and check all the indicators. Ensure that the headlight, high beams, turn signals, and especially the brake lights are working correctly.
A good tip is to do this check in your garage under low light or darkness. Even if no one is available to help, you can easily notice the difference in lights when checked in the dark. Make sure all the indicators are working properly. Also, check if your license plate number is up-to-date, to avoid unnecessary hassles with the police and save time.
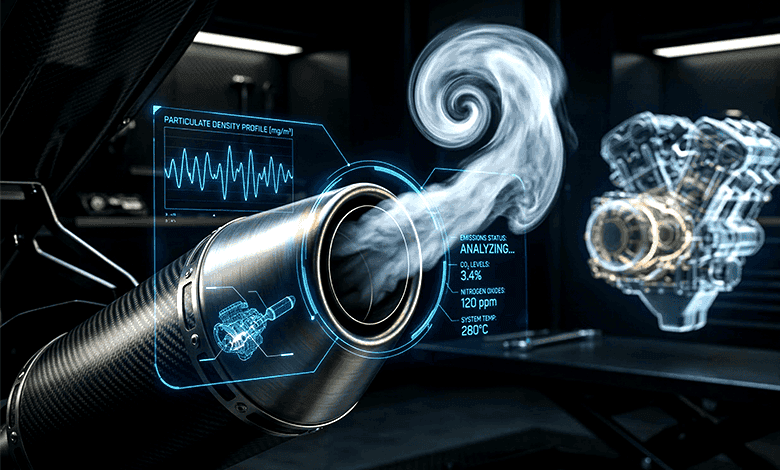
Step 5: Electrical Components
The final step is to check all the electrical components of your motorcycle. There’s no easy way to check every wire, battery, and harness, as most of them require disassembling parts of the bike. However, visually inspect what you can see to ensure that no wires are exposed or damaged.
When starting the bike, listen carefully to the battery’s sound. From the sound, you can tell if the battery needs charging or if it's time to replace it.
Conclusion
By taking just a little time to check the parts of your bike, you can avoid unwanted problems! If you make a habit of doing these pre-checkup steps regularly, you can get the necessary motorcycle servicing before problems arise. This will keep your bike running smoothly for a long time, and every ride will be enjoyable.
Frequently Asked Questions from Customers
Do I need to start my motorcycle every day?
It is not necessary to start it every day. However, bikers should drive their motorcycle at least 10-15 miles once a week. This will allow any moisture accumulated in the fuel tank to evaporate, ensure proper lubrication in the engine, prevent rust and wear, and avoid issues like clogged filters, tire degradation, and battery deterioration.
How often should I get my motorcycle maintenance done?
This depends on your motorcycle model and how you use it. However, generally, your bike's routine check-up and servicing are required every 500-600 miles or every 6 months.
Why does the engine need to be warmed up before driving?
When the engine is warmed up, it has a good impact on the motorcycle's safety and performance. The engine has various rings and seals that work smoothly with proper lubrication at the correct temperature. Therefore, after starting the engine, it's advisable to let it warm up for a few minutes so these parts can work efficiently.
What problems can occur with my motorcycle?
All parts of the motorcycle will eventually need replacement. However, some common issues include:
- Rust in the fuel tank of older bikes
- Various bike fluid leaks, especially engine oil and fork oil
- Carburetor damage
- Punctured or worn-out tires
- Broken brake lines
- Broken headlights or mirrors, etc.
How much does motorcycle servicing cost?
The cost varies depending on the bike. Based on your bike's model, which parts need replacement, and other factors, the cost may be higher or lower. You can calculate the cost based on the price of parts that need to be replaced, service charges at nearby service centers, and so on. To find out and compare online servicing costs, visit Bikroy's Auto Services portal.