Fixing Rusted Holes in Your Motorcycle Fuel Tank

A motorcycle fuel tank is an important component for any motorcycle. It is also the foremost part. So if something happens to the fuel tank, it's the first thing noticed. Rust on the fuel tank also ruins the bike's aesthetics. However, the effect of rust is not limited to this.
Rather, if the fuel tank rusts and develops holes, it contaminates the fuel and drastically reduces the bike's fuel efficiency. So today we will learn how to solve this problem of motorcycle fuel tanks.
Preventing Rust in Motorcycle Fuel Tanks
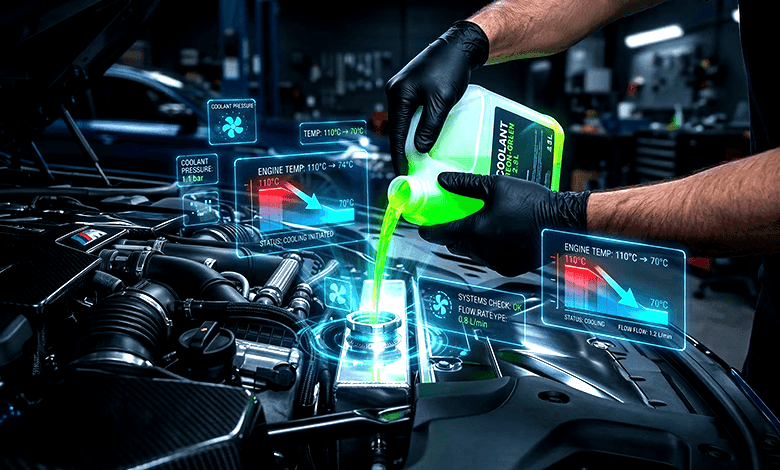
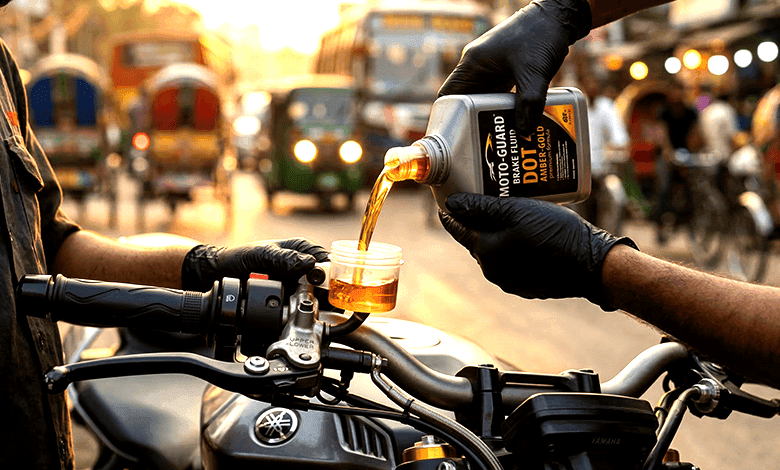
If you want to prevent rust in your motorcycle fuel tank, you must take care of it. Taking your bike to a good servicing center once or twice a year to get the tank cleaned will suffice. Never clean a motorcycle fuel tank with diesel or kerosene. Instead, use octane or petrol to clean the motorcycle fuel tank.
Repairing Rusted Holes in Motorcycle Fuel Tanks
Repairing rusted holes in a motorcycle fuel tank is a very easy task. You can do it yourself if you have the necessary components.
Required Tools:
- Safety glasses for eyes
- Face mask
- Gloves
- Clean cloth
- Fuel tank paint
- Primer
- Petrol resistant primer
- Metal body filler
- Metal cleaner
- Sandpaper
- Brush
So, let's clean the rusted holes in your motorcycle's fuel tank. But before that, put on gloves, safety glasses, and a face mask.
Step 1 - First, you need to remove the fuel tank from the bike. You can do this by referring to the manual that came with the bike.
Step 2 - Drain all the fuel from the fuel tank. You don't need to waste it, just pour it into a separate container.
Step 3 - Now, thoroughly clean the inside and outside of the fuel tank with a metal cleaner.
Step 4 - Now, scrub and clean the rusted parts using sandpaper. Continue scrubbing until all the rust is removed. This might cause the fuel tank's paint to come off, but there's nothing to worry about. After removing the rust, wipe the tank with a clean cloth.
Step 5 - Now, apply primer over the rusted holes.
Step 6 - Close the holes using metal body filler. If necessary, use sandpaper to rub and achieve a good finish. Try to give such a finish that it's not apparent there were holes before. Once finished, wait for it to dry.
Step 7 - Once the holes are closed, the next task is to ensure that no more holes appear in the future. For this, you need to apply a coating to the fuel tank using petrol resistant primer. After applying the coating, wait for it to dry.
Step 8 - The next task is to paint the fuel tank. Thoroughly paint the fuel tank using a brush and your preferred color. Once painted, wait for it to dry.
Step 9 - The final task is to reattach your fuel tank to the bike. Carefully reattach the fuel tank by referring to the manual. Double-check that everything is properly in place.
Conclusion
You can find the necessary tools at any bike shop. The first purchase might cost a bit more, but once you have them, you can clean your own bike. This will save you a good amount of money in the long run. Also, cleaning the fuel tank regularly will result in better mileage from your motorbike.