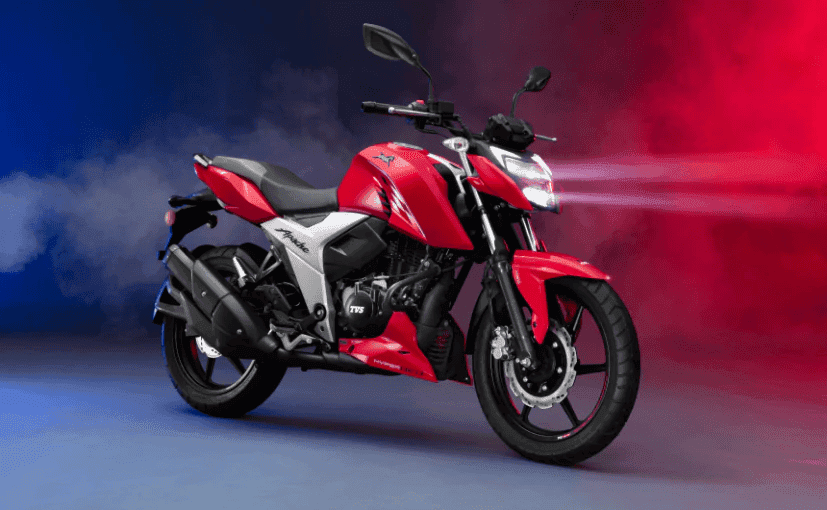
Step-by-Step Guide to Cleaning Your Motorcycle Headlight

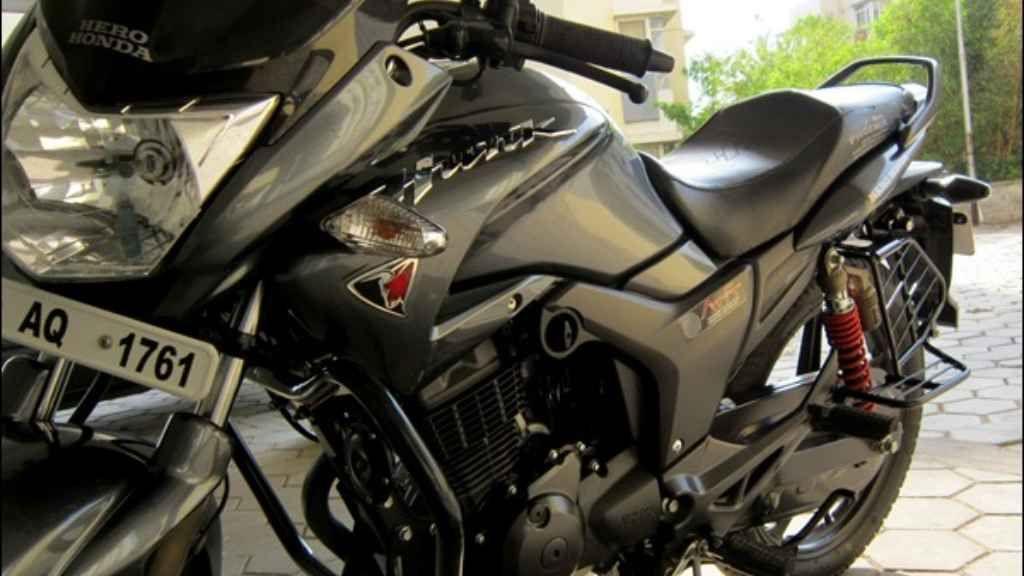
In addition to using a motorcycle, its maintenance is also very important. A motorcycle's headlight is an extremely important component that ensures road visibility and safety when riding in the dark, at night, or even in daylight. Over time, due to use, dust, dirt, and moisture accumulate inside the headlight, reducing its functionality and brightness. It then becomes necessary to clean its inner part to restore the headlight's functionality and extend its lifespan. However, if you are also concerned about cleaning the inside of your headlight, then this article is for you.
How to Clean the Inside of a Motorcycle Headlight?
Cleaning the inside of a motorcycle headlight is a common maintenance task that can help maintain its performance and ensure proper service. Cleaning a bike's headlight may seem like a difficult task, especially the inner part of the headlight. However, with the right method and precautions, these parts can be cleaned very easily. Therefore, you need to follow some steps when cleaning the inside of your motorcycle's headlight.
It is important to refer to the specific motorcycle's manual for further instructions or precautions related to your particular motorcycle model regarding the cleaning process. Then, it is important to gather the necessary tools and materials for cleaning. So, the materials you need for the headlight task are:
- Clean microfiber cloth
- Soft, lint-free cloth
- Soft-bristled brush
- Masking tape or electrical tape
- Screwdriver (if needed for headlight removal)
- Mild soap or advanced lens cleaner (specifically designed for plastic lenses)
- Distilled water (if needed)
- Compressed air (optional)
After gathering the necessary materials for the cleaning task, park the motorcycle in a well-ventilated area. Allow the headlight to cool if it has been recently used. For safety and to prevent potential injury, ensure you wear gloves and eye protection. If necessary, read the instructions in the motorcycle's manual to determine if the headlight can be easily removed for maintenance purposes. If possible, follow the manufacturer's instructions to disassemble the headlight.
Disassembling the Headlight
Depending on the motorcycle model, you may need to remove certain parts or wires to access the actual headlight assembly. Use appropriate tools such as wrenches or screwdrivers to completely disassemble the headlamp. If necessary, cover any delicate or painted areas with masking tape to avoid further scratches.
Next, open the headlamp housing using a plastic pry tool or screwdriver if needed. Remember that to access the inside of most motorcycle headlights, the headlight bulb must be removed. Follow the instructions in your bike's manual to safely disassemble the bulb. Ensure you handle it carefully to avoid any damage.
Cleaning the Inside of the Headlight
Once the headlamp housing is completely disassembled, use a soft microfiber or lint-free cloth to remove excess dirt and dust. Gently wipe the inner surface of the headlight lens. Avoid using abrasive materials or rough cloths that could scratch the lens. If stains or grime are found, you can dampen the cloth with a mild detergent or a specialized lens cleaning solution and clean accordingly.
After properly cleaning the headlamp assembly, rinse the inside of the headlight with water to remove cleaning residue. This water helps prevent mineral deposits or streaks on the lens. Use a clean, dry cloth or compressed air (set to low pressure) to remove excess water and ensure the headlight's interior is completely dry. However, be careful not to apply excessive force during the cleaning and drying process.
Reassembling the Headlight
Once the headlight assembly is thoroughly clean and dry, reinstall the headlight bulb and any parts or covers that were removed during the cleaning process. Ensure they are correctly aligned and securely fastened according to the manufacturer's instructions. Then, securely fix the assembly without applying excessive pressure on the panel.
Gently reattach the headlamp to the motorcycle. Before hitting the road, ensure the headlight is securely reinstalled and functioning correctly. Align the headlamp beams and test the headlight by turning it on to verify its brightness and clarity. Check for any unusual signs. If you notice any problems, you can also consult a professional for further inspection. This way, you have easily and carefully completed the cleaning process of your motorcycle headlamp assembly. This is how you can clean the inside of your motorcycle's headlamp.
For more important tips related to bikes, stay with Bikroy.